Raspberry Pi Retro Console
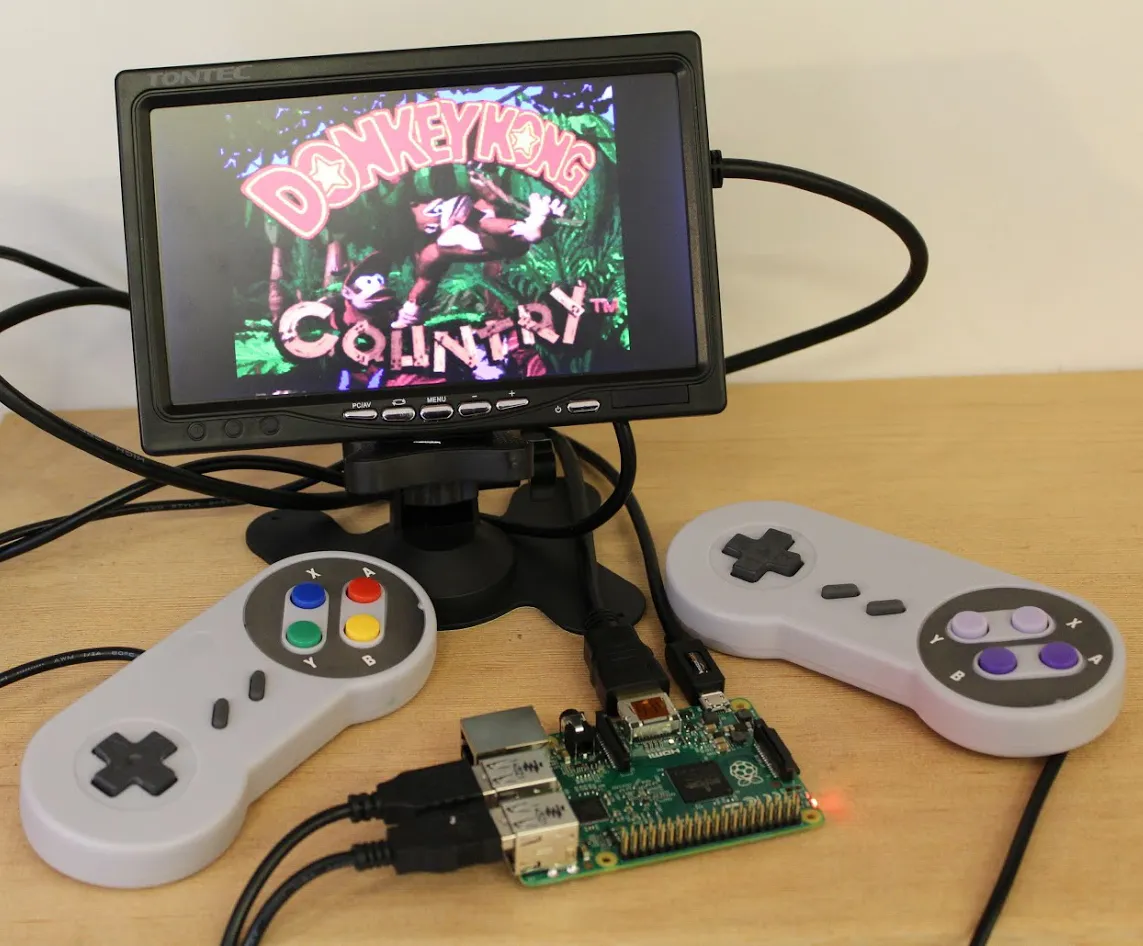
Transforming a Raspberry Pi into a retro gaming console is a fun and rewarding project. Below you'll find an overview of the process, required materials, and images showing each step.
Project Overview
- Gather Materials: Raspberry Pi, microSD card, power supply, HDMI cable, USB controllers, case (optional).
- Install RetroPie: Download and flash the RetroPie image onto the microSD card.
- Initial Setup: Boot up the Pi, configure controllers, and connect to Wi-Fi if needed.
- Add Games: Transfer ROMs to the Pi using USB or network.
- Play! Launch your favorite retro games and enjoy.
Below are images showing the hardware setup, software installation, and the final result.